AI Upscaling: Your Guide to Perfect High-Res Photos
Published on Tháng 1 19, 2026 by Admin
In today’s visually-driven digital world, a blurry photo can ruin a user’s experience. For UI designers and content creators, delivering crisp, high-resolution images is non-negotiable. However, you don’t always have a perfect, large-format picture to start with. This is where upscaling comes in. This guide explores efficient methods for enlarging your photos without losing quality.
While traditional methods have existed for years, modern AI-powered tools have completely changed the game. Consequently, you can now achieve stunning results that were previously impossible. We will cover both old and new techniques, providing a clear workflow for you to follow.
Why Crystal-Clear Blog Photos Matter
High-quality images are essential for professional credibility. For instance, when a user lands on your blog, your visuals create the first impression. Sharp photos signal quality and attention to detail. On the other hand, pixelated or blurry images can make your entire site feel untrustworthy and outdated.
Moreover, high-resolution displays are now standard. Devices with Retina or 4K screens reveal every imperfection in a low-quality image. Your audience expects a seamless, clear visual experience. Therefore, providing anything less can lead to higher bounce rates and lower engagement.
Good images can also improve your SEO. Search engines may favor content with high-quality, relevant visuals. In addition, properly optimized images can appear in image search results, driving more traffic to your site.
The Old School: Traditional Upscaling Methods
Before AI, designers relied on interpolation algorithms to upscale images. These methods use the data from surrounding pixels to guess what the new pixels should look like. However, they are essentially making educated guesses, which often leads to quality loss.
Nearest-Neighbor: The Blocky Basic
Nearest-neighbor is the simplest upscaling method. It works by copying the color of the nearest existing pixel to create new ones. As a result, this technique is very fast. The major downside, however, is that it creates a blocky, pixelated look. It does not produce smooth results for photographic images. This method is generally only suitable for pixel art or simple graphics where sharp edges are desired.
Bilinear Interpolation: A Softer Approach
Bilinear interpolation offers a slight improvement. Instead of using just one pixel, it takes the average color value from the four nearest pixels to create a new one. This process results in a smoother image than nearest-neighbor. However, this averaging effect often makes the upscaled image look soft and blurry. You lose a significant amount of fine detail and sharpness.
Bicubic Interpolation: The Photoshop Standard
For a long time, bicubic interpolation was the industry standard, and it is still the default in many image editors like Adobe Photoshop. It is more complex than the other two methods. Specifically, it looks at the 16 nearest pixels to calculate the color of new ones. This produces a sharper result than bilinear interpolation. Nevertheless, it can introduce visual problems like “halos” or ringing artifacts around sharp edges.
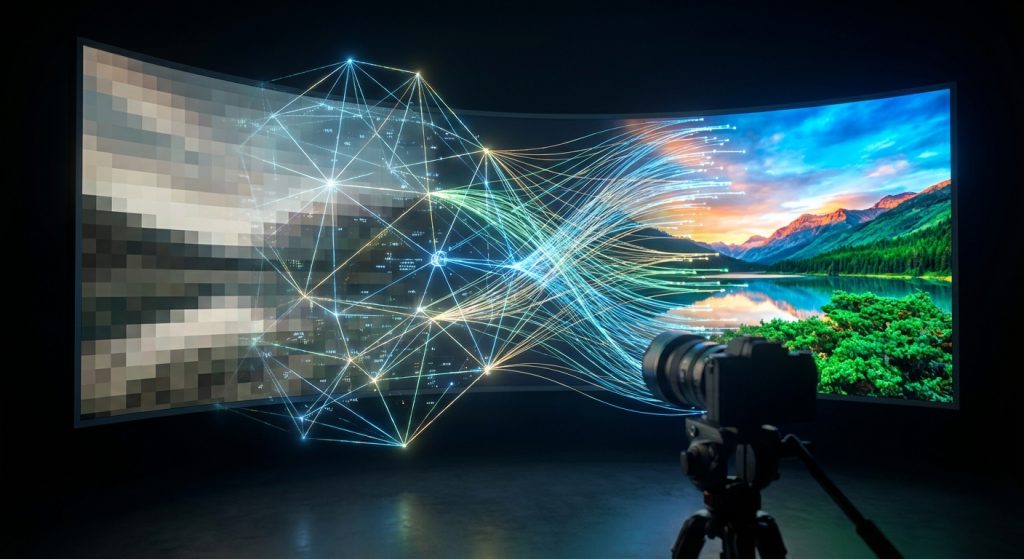
The Game Changer: AI-Powered Image Upscaling
Artificial intelligence has revolutionized image upscaling. Instead of just guessing based on nearby pixels, AI models have been trained on millions of image pairs. They learned the difference between low-resolution and high-resolution photos. As a result, they can intelligently add new, realistic detail.
This process is more like restoration than simple enlargement. The AI analyzes textures, patterns, and shapes in the original image. Then, it generates new pixels that are contextually appropriate, creating a final image that is both larger and more detailed.
How AI “Thinks” to Add Detail
AI upscaling uses a type of neural network called a Generative Adversarial Network (GAN). A GAN has two parts: a generator and a discriminator. The generator creates the upscaled image. Then, the discriminator, which has been trained on real high-res photos, judges the result. It tells the generator if the image looks fake.
This back-and-forth process continues until the generator creates an image so realistic that the discriminator cannot tell it apart from a real high-resolution photo. This is why AI can convincingly recreate textures like skin, fabric, and wood grain.
Popular AI Tools for Flawless Upscaling
Several powerful AI tools are now available for designers. Some are standalone applications, while others are built into larger platforms.
- Standalone Software: Tools like Topaz Gigapixel AI are dedicated solely to image upscaling. They offer a high degree of control and often produce industry-leading results.
- Online Services: Numerous websites offer free or paid AI upscaling. These are convenient for quick jobs without installing software.
- Integrated Features: Platforms like Midjourney and other AI image generators often include upscaling features. This allows you to create and then enlarge AI art within the same workflow.
Choosing the right tool depends on your needs and budget. For a deeper look into your options, our comparison of free AI image models can provide valuable insights.
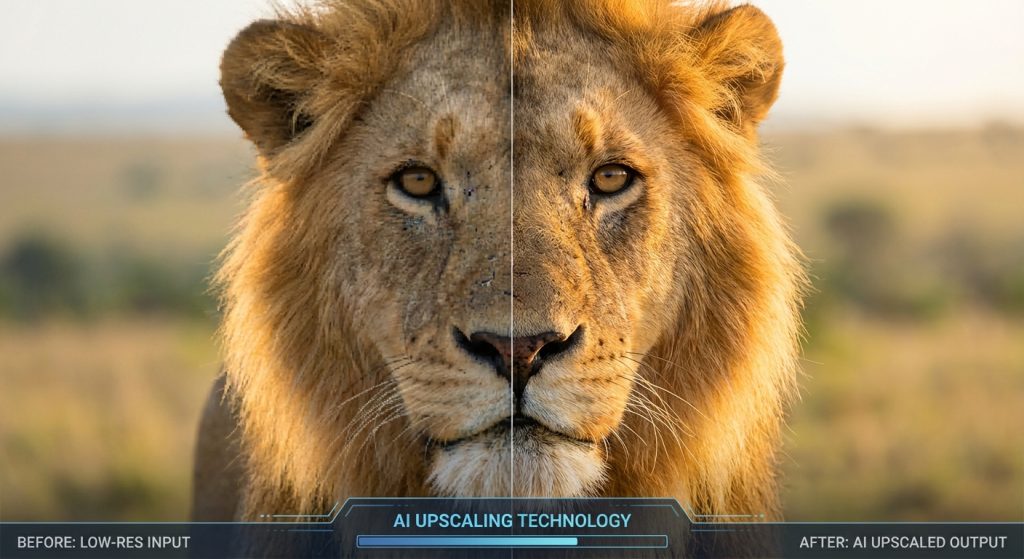
AI vs. Traditional: A Clear Winner for Photos
When you compare the results side-by-side, the difference is stark. A photo upscaled with bicubic interpolation might look acceptably sharp from a distance. However, up close, you will see blurriness and artifacts. In contrast, the same photo upscaled with AI will have realistic details and textures. Fine lines will be clear, and noise from the original image is often reduced. For professional work, AI is undoubtedly the superior choice.
Practical Workflow for UI Designers
Achieving great results requires more than just a good tool. Following a structured workflow ensures efficiency and quality. This simple four-step process will help you get the best possible outcome every time.
Step 1: Choose the Right Source Image
The quality of your output depends heavily on the quality of your input. Always start with the best possible version of the image you have. An image that is slightly out of focus or has heavy compression artifacts will be much harder for any tool to fix. Garbage in, garbage out still applies, even with powerful AI.
Step 2: Select Your Upscaling Tool
Based on your project, choose the appropriate method. For a quick, non-critical image, a free online tool might suffice. For a hero image on a major landing page, a dedicated application like Gigapixel AI is a better investment. Consider the tool’s ability to handle specific content, like faces or text, as some AIs are better at certain details than others.
Step 3: Upscale, Review, and Refine
Start by upscaling by a factor of 2x or 4x. Going beyond this can sometimes introduce strange, “hallucinated” details. After the first pass, zoom in to 100% and carefully review the image. Look for any weird textures or unnatural-looking areas. Some tools allow you to adjust settings for noise reduction or sharpening, so feel free to experiment for the perfect balance.
Step 4: Optimize for Web Performance
Upscaling an image dramatically increases its file size. A larger file means slower page load times, which hurts user experience and SEO. Therefore, you must optimize the upscaled image for the web.
- Compress the image: Use tools like TinyPNG or ImageOptim to reduce file size without a visible loss in quality.
- Choose the right format: Use the WebP format whenever possible. It offers excellent compression and quality compared to older formats like JPEG and PNG.
- Implement Caching: Ensure your website uses browser caching. For high-traffic sites, exploring smart caching for AI visuals can significantly boost speed and reduce server costs.
Frequently Asked Questions (FAQ)
What is the best upscaling method for photos?
For photographic images, AI-powered upscaling is by far the best method. It generates new, realistic details and avoids the blurriness and artifacts common with traditional methods like bicubic or bilinear interpolation. It produces a much cleaner and more professional result.
Can I upscale a very small, blurry image into a large, clear one?
There are limits. While AI is powerful, it cannot create detail that doesn’t exist at all. Upscaling a tiny, heavily compressed thumbnail into a full-screen hero image will likely produce a strange, painterly result. It’s best to start with the highest quality source image available for the most natural outcome.
Does upscaling affect SEO?
Yes, it can, both positively and negatively. High-quality images improve user experience, which is a positive signal for SEO. However, upscaling increases file size. If you don’t properly optimize the image for the web, it can slow down your page load speed, which will harm your SEO rankings. Always compress your final images.
How much should I upscale an image?
A 2x or 4x upscale is usually sufficient for most web use cases. Upscaling beyond that (e.g., 6x or 8x) increases the risk of the AI introducing unnatural artifacts or “hallucinated” details. Only upscale as much as you need for the final display size.
Conclusion: Embrace a Smarter Workflow
The need for high-resolution images is undeniable. As a UI designer, your ability to produce them efficiently is a critical skill. Traditional interpolation methods are no longer sufficient for professional-quality work on modern displays.
Ultimately, AI upscaling offers a vastly superior solution. It allows you to rescue less-than-perfect source images and deliver stunning, crisp visuals that enhance user experience. By integrating these modern tools and a smart optimization workflow, you can ensure your blog and web projects always look their best.